3 tips for taking mouth-watering food pics while traveling
Before we can even take a bite of a delicious meal, we take in its appearance and feast with our eyes. Food photography is a big business and these photos can be sold, or simply used to spice up your social media feed.
It's estimated that 1 billion people actively use Instagram each day, so if you want to attract their attention you'll need to be savvy when it comes to capturing your food photos. If you're looking to improve your food photography game, then here are three tips on how to take mouth-watering photos when you're travelling:
1. Lighting is everything
You can have a stunning plate of food in front of you but you won't do it justice if you have poor lighting on your side. You can be really creative with your lighting options, using both natural and artificial lighting to your advantage, depending on the time of day and the effect you want to achieve. Natural lighting really softens the overall finish of the photos, giving the whole picture some warmth (this is ideal for homely dishes like stews and broths where you want to portray a sense of comfort and familiarity). Artificial lighting is the easiest to manipulate and gives you creative freedom; you can use it to highlight the focal point of the photo, manipulating which areas get shade and which areas get light. If you're out and about, you can achieve this with just your phone camera light.

2. Position your food
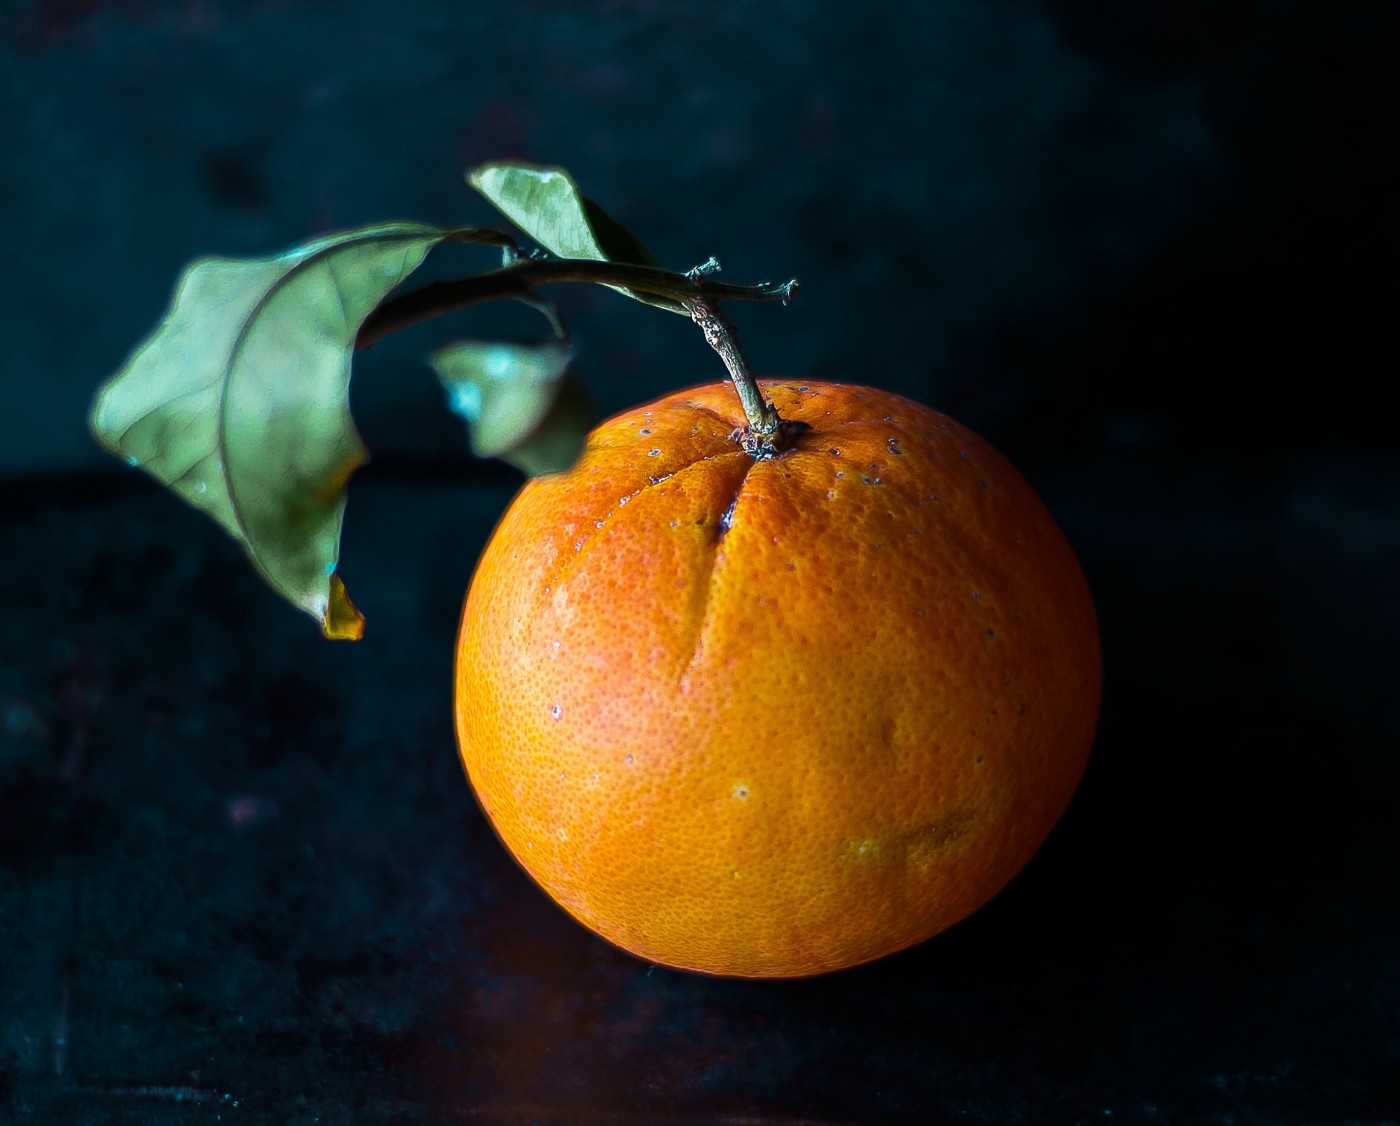
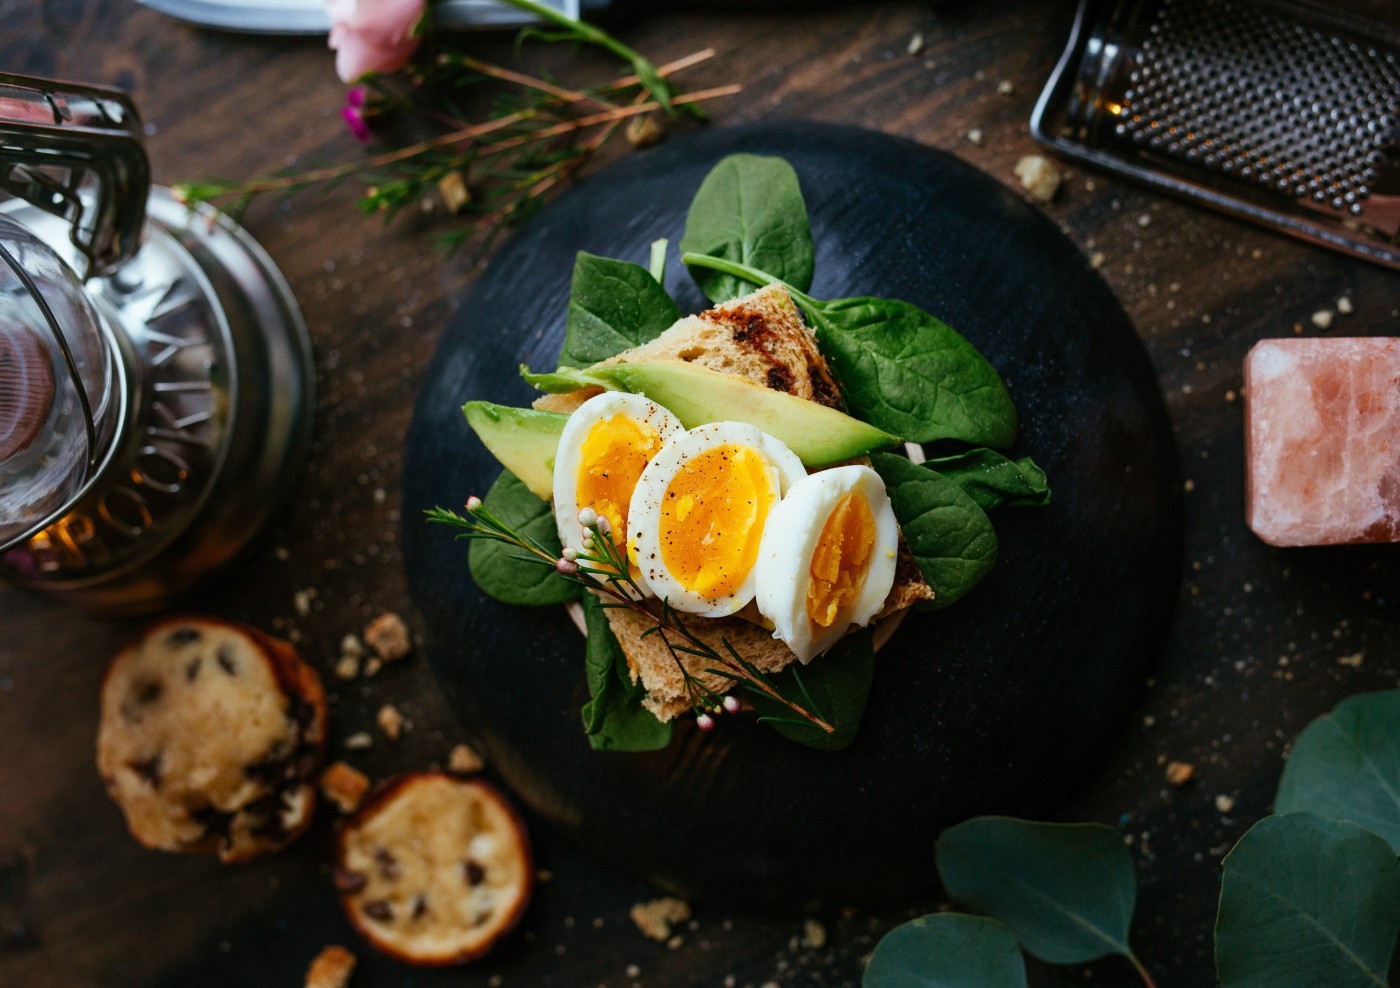
It's estimated that more than £1 trillion is spent in the business travel sector each year, where people get to explore the world through their work. If this applies to you, don't waste the opportunity you've been given; take this time to try food from across the globe, taking amazing photos as you do. When you're taking the photos, you might be tempted to cram as much as you can into the shot, but this can be a mistake. Instead, choose the most important food items to be in the shot, aiming for a more minimalist approach. Colour is also an important consideration; try to use fresh colours, like greens and reds. However, monochrome photos can also be really effective and unique, but position the food so you capture the different textures.

3. Down to the edit
So you've taken an impressive photo that you're eager to share with the world, but don't get too excited because it's not ready to post yet. Editing adds another dimension to your photographs, making them even more vibrant and aesthetically pleasing. The aim of editing isn't to completely change the photo, but to enhance what's already there and add what the camera failed to capture. If you've taken a photo of fruit, the aim is to make them seem succulent and fresh; add some shine to apples or some water drops to the skin of a watermelon. Editing doesn't have to be a complex ordeal. A simple filter could be all you need to bring your photo to life.

